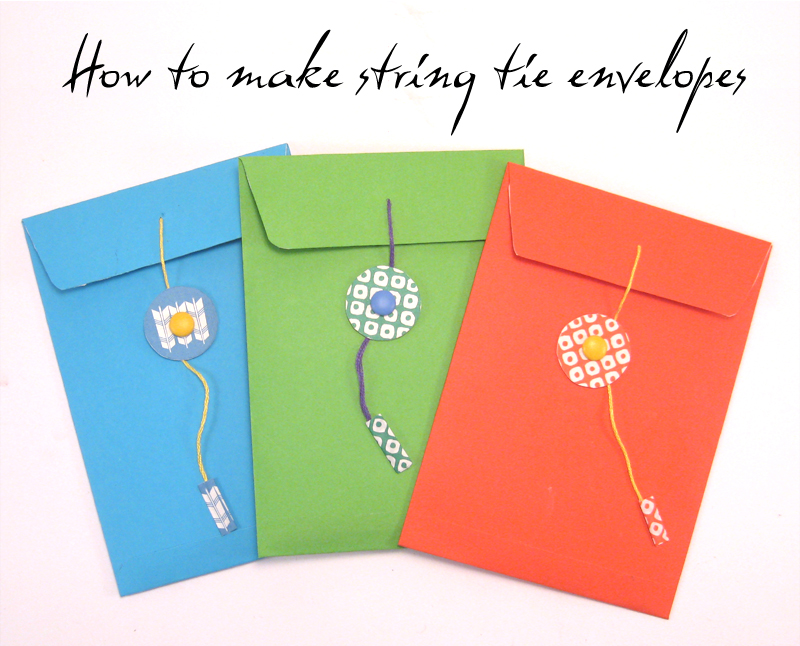
29 Jul Craft Tutorial: How to make a string tie envelope.
Tutorial: How to make a string tie envelope
Time: 15 -20 minutes
Materials

awl (any pointed object, a large needle would do)
compass
bone folder
embroidery thread
brads
Double sided tape or glue stick
Craft Knife or scissors
coloured card
lining paper (optional)
Your FREE CRAFTY TEMPLATE
1. Print your free crafty template. Cut out envelope template from coloured card. Select lining paper, repeat. You can cut out the entire template, I only had a small bit of the paper so I just cut out what would be seen.

2 . Use the bone folder to crease along all the interior lines that were shown on the template.
3. Use awl to pierce hole in top flap (where shown on template). Cut 15cm of embroidery thread. Push through, leave small tail on interior and secure with double sided tape.

4. Stick lining paper to inside of envelope

5. Make your brad ‘button’ (see below)

6. Glue it all together. Put glue on very edge of inside of part B.Press B on top of Flap A

7. Repeat for bottom flap

8. Finally wrap a small piece of lining paper around the end of the thread.


If you have any questions about the tutorial just leave them in the comments below.
xx V
Sorry, the comment form is closed at this time.